Brisbane Lockdown Mask Making Master Post
Howdy folks!
Brisbane has just gone to mandatory masks outside the home. Making masks has been my pandemic coping mechanism, so here's what I have learned - after the cut, mask patterns, tips about material and other odds and sods:
Mask Patterns:
I've tried a bunch of different patterns, tinkered with them, devised my own and despite almost ten months of experimentation these are still my favourite:

I use three layers of fabric in a sandwich rather than one piece folded in two, but this pattern adapts readily and fits most faces. I measure ear to ear then bridge of the nose to comfortably under the chin, and cut fabric to match that size. Both my kids now have masks that fit, and mine are slightly larger than standard adult but are comfortable enough that they don't fog my glasses and I can stay in them for a long time. It's super easy - if you can sew in a line you can do a mask. This is also a very fabric efficient mask - it's just rectangles, so it's easy to fit a lot of masks onto a single piece of fabric.
This pattern is a sleeker, more fitted mask that's also very fast to make.
I like the roominess in the front but am not a fan of the profile. It's also very quick, with straight seams and a minimum amount of mucking about.
This pattern has been popular with a lot of folks. I'm not as big a fan, because it doesn't fit my face well and requires a bit more skill and time than the flats. I don't find them particularly comfortable or functional for my squished up pug face, but most other folk seem to manage just fine. The page I link to has a pretty comprehensive breakdown on how to make it, with fit guides and videos, so if you want that sleeker look it's pretty straightforward to make.

The Olsen Mask is a variation on this one with a slightly different fit inside. I can't comment as I haven't made this one, but it's been popular with other sewists in my circles.
I've been considering giving this one a crack, too. I've seen it around and it looks very comfortable, but it required ironing and lord I hate to iron. I'll have to think on it. Pattern and tutorial with pictures here.

First: All masks can be adapted to have the minimum three layers Queensland Health recommends. Just cut another layer and make it a sandwich. You can go for as many layers as you want after that, so long as your machine can handle it. I like three because it's at the perfect point for breathability in the tropics while still providing very high protection. But the more the better in terms of protection.
For fabric, your best practice is tight cotton inner layer (like quilter's cotton, which is soft on your face, easy to work with and available in lots of cute patterns), a poly blend outer layer, and a middle layer of a non-woven poly material, like a layer cut from a eco bag. If you can't manage that (I've been taking canvas bags everywhere so haven't seen an eco bag for years) another layer of cotton is fine. Thick bedsheets, old cotton tshirts and the like are fine if you can't get new fabric. Just make sure it's still tightly woven - if you can see through it, forget it.
THE DIFFERENT LAYERS ARE IMPORTANT. I've seen a lot of folks just using cotton for the whole thing, but you really need to use a water repellant layer on the outside. Polyester or polypop is ideal, as it is way less absorbent than cotton. It will help keep more of your breath in and other people's out.
Whatever you choose, wash the fabric in the same way you would wash a mask. It'll preshrink anything shrinky, and clear leftover dye and sizing on the fabric. Give it an iron once its dry so you don't have mystery creases fucking up your fit. I gave mine a quick soak in nappy wash then a hot water wash, then ironed everything dry.
The other important part is to make sure you can clearly tell which side is in and which is out. I generally use different fabrics so its easy to remember. Being an unrepentant goth helps because all mine are black on the outside with a pattern or color on the inside.
For ties, I've been using everything from elastic to hair ties, cording cotton, ribbon, t-shirt yarn, the works. Early on elastic was hard to find, and I tore through my stash pretty quick. A large hair tie cut in half is just the right length of elastic for a lot of people, thankfully. A good workaround has been to sew a short, 2cm loop of ribbon or bias tape in the corners where the ties usually sit. This works best for flats but is serviceable with other styles.

This lets me swap out old elastic ties that are having a Bad Time in the harsh hot washes I use to sterilize masks. It also means I can thread face ties through for a very close fit, or tie them to the ends for wider jaws. It leaves a lot more room for custom fit, that can change depending on circumstances. I have a couple with elastic loops on at the moment for quick on-off when using rideshares, which up until quite recently was really the only time I felt the need to wear them.
I've been leaning in heavily on tshirt yarn lately and it's been great. It's much more comfortable to wear and is just the right amount of stretchy. It washes well too.
On the subject of nose bars: Look, I kind of hate nose bars. I have a tiny squidgy baby nose, and they don't sit properly on me, and they get in the way of my glasses. I mostly just fold the tops of my flats just so to make the sit. The second style of mask has a seam on the nose that seems to help me keep them sealed. But for folks who do want to use a bar all the patterns above have a bar option. I was using carefully trimmed and folded lengths of aluminium can or pipe cleaners before I gave up. Pipe cleaners are serviceable, just make sure you have some tweezers you can use to pull them out after a few washes cause they disintegrate real quick.
I vastly prefer just sewing a pocket of wide bias tape or ribbon into place on the surface of the mask rather than fucking about with making pockets on the mask itself.
On the subject of foggy glasses: It also occurs to me to note that I don't generally topstitch my flats. I'm usually trying to pump em out by the dozen, so the extra couple of minutes for topstitching is better served making a few more altogether. What this does is give them a pillowier, amorphous quality that allows the mask to form a softer, puffier seal across my nose. I very rarely get foggy glasses with my flats. More on foggy glasses here from the ABC.
Daiso sells antifog glasses wipes if you just want to cut to a fast and easy option.
For storage: I keep mine stored individually in ziplock bags. This has been super helpful because I haven't really used them much in the last few months and they're still clean, dust free and ready to go. I've got a half dozen ferreted away in various handbags so I always have a few at hand if things start to look hazardous. Once they're sealed you can chuck a couple in the car or whatever too. It's hard to forget them that way. It also means I can just pick up the whole ass bag, and if I need to change the mask when I'm out I can put the dirty one in a sealable bag.
For wearing: Speaking of which - put on a new mask if it starts to feel damp, and it's good practice too to use a clean one after eating or whatever. Don't just dump dirty ones in your bag or pocket or whatever. Seal that fucker away. Treat it like its got wet paint on it. Don't touch it when it's on either, so if you need to adjust the fit try and limit contact to the straps at the side and the hems.
For washing: A hot soapy wash in your machine will kill anything hazardous. Most advice to boil them or do overnight soaks or whatever is really just going to increase the handling time you spend on dirty masks, which increases the likelihood you'll pick something up off it. Bung it into the washing machine as soon as you get home and don't take it out again till its washed and you'll be good. We've got Mighty Queensland UV Sun, so hanging them in direct sunlight will help too, and running them through the dryer isn't going to hurt really.
We have a decent sized lingerie bag on a hook by the back door, so dirty masks make it no further than the laundry. I don't even have to take them out to pretreat and wash. I just dump the lot in a tub of hot water with a bit of nappy soak in it, then rinse and boom, into the machine. I don't ever have to touch them till they're clean again. Contaminated zip lock bags are washed out with hot water and soap then put out in the sun to dry.
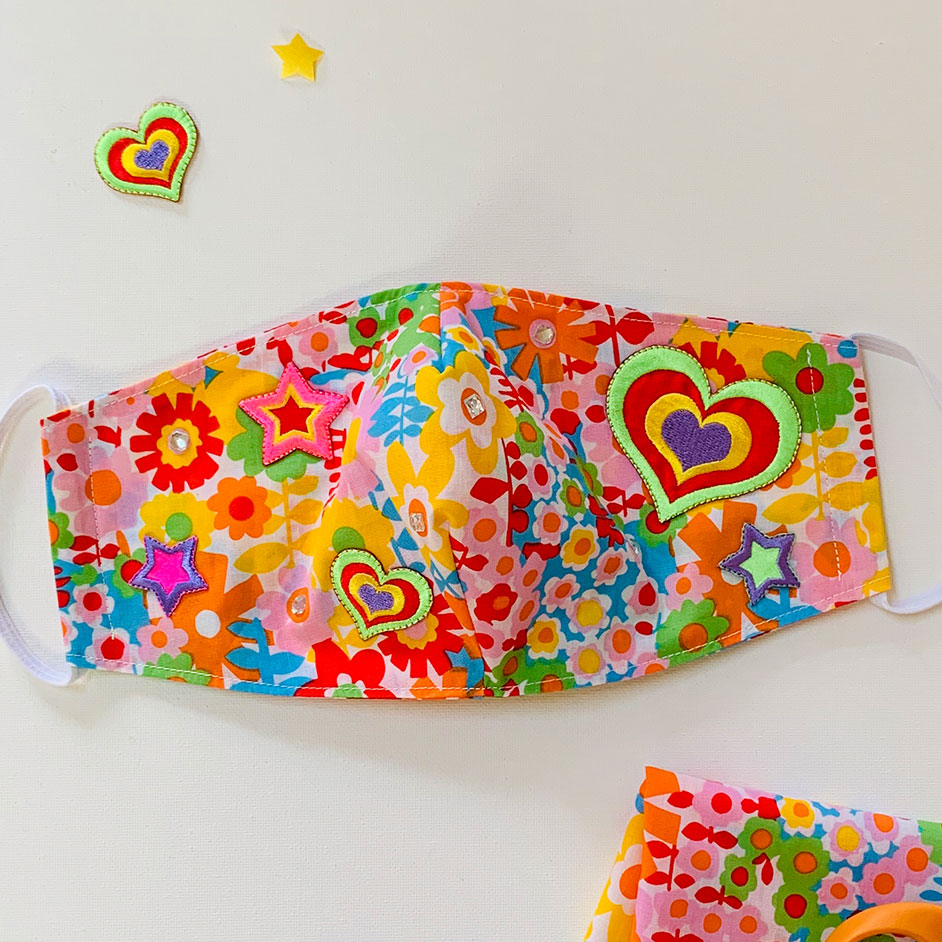
On decorating: Go nuts, fam. Just make sure you don't cover the outer surface with too much stuff that is not breathable. The iron on patches in the rainbow coloured example above cover very little of the surface. Too much and you won't be able to breathe through it. Same with fabric paint should be used sparingly as it reduces air flow. Fabric markers that use washable ink are pretty good for this because they colour without leaving a layer behind. If you want to do embroidery or studs or sew on lace or whatever, add another poly layer behind so the holes you poke from your decoration don't reduce its effectiveness.
Bonus Round: Speed Tips for Mass Production
I don't use paper patterns any more. Rather, I have a series of cardboard templates I have made from old cereal boxes with the sizes and cut count written on them.
I generally don't use my scissors for most cutting. For flats, I fold a few layers, nick the corner then riiiiiip. It's very satisfying and I can do literally dozens of layers at once.
For the other patterns, I use a rotary cutter. It's like a tiny vicious pizza cutter for fabric, popular with quilters. You can cut precision curves through about five or six layers with a good rotary cutter. I use this one.
I also get a lot of mileage out of my pinking shears. I use them to cut along curves so when you fold things inside out you have less fabric and the curve sits more smoothly. The Olsen and other patterns with curved fronts often suggest you cut notches for this, and the shears do dozens of notches, small sharp and fast. I use these ones.
The other trick for speed is to do them in colour lots. I only ever have black or white thread in my machine, it means I'm not fucking around with the bobbin tension (aka, The Cry Hole) and once Mordred is threaded away we go for hours. I also thread two bobbins at once so it's faster to switch out if I'm on a roll.
I also do them in stages - so all the seams, then turn all of them inside, then pleat all of them at once. The same step on all the masks in the batch. Doing it like that means you get faster and faster each one, especially with shit like pleating. Man, I hate pleating. Anyway, it's quicker to do it like that, and it's how clothing manufacturers arrange it (although in that case its one worker, one job).
Anyway, they are pretty straightforward wear, once you get over it. A bit like wearing glasses or a hat. I'd suggest just having a play around with yours at home to get used to them before heading out. It's also worth having a read of what people who have been wearing these daily for months have to say about fit and wearablity. We're just learning here in Queensland so it's good to seek wiser folk.
no subject
as cases have been so low, i work from home...i've not felt the need to make my own.
in short, i've been woefully short sighted and complacent.
thank you for posting this
no subject
no subject
what you're doing as well is achieving small goals. whatever the reason, achievement (and celebrating that) is good for the brainmeat.
speaking of, the hoards of kids who live in the street are either not outside or are playing with their masks on properly.
no subject
Small goals are legit a thing. I shaved my undercut last night, and today my Big Job was sorting out the play kitchen. My editor has hit me with a book about how cotton becomes clothes so that's good too.